There are three ways for you to get Onpage Hero running on your site, depending on how many rights you give her for your Google Tag Manager account. In case you want to give neither publish nor write rights, you’ll have to paste and deploy her code yourself.
While you can potentially use any tag management system to do so or even deploy it in the source code of your site, this article shows you how to paste and deploy the code using Google’s Tag Manager in three easy steps:
1. Copying the code from Onpage Hero
After you have successfully passed the first three steps of Onpage Hero’s set up, you can choose to “just create the source code and paste and publish it yourself”. Select this option if you want to do just that. 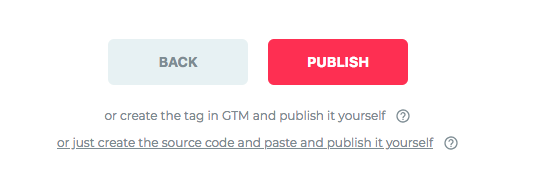
After you clicked on it, a pop up with your of source code will appear: 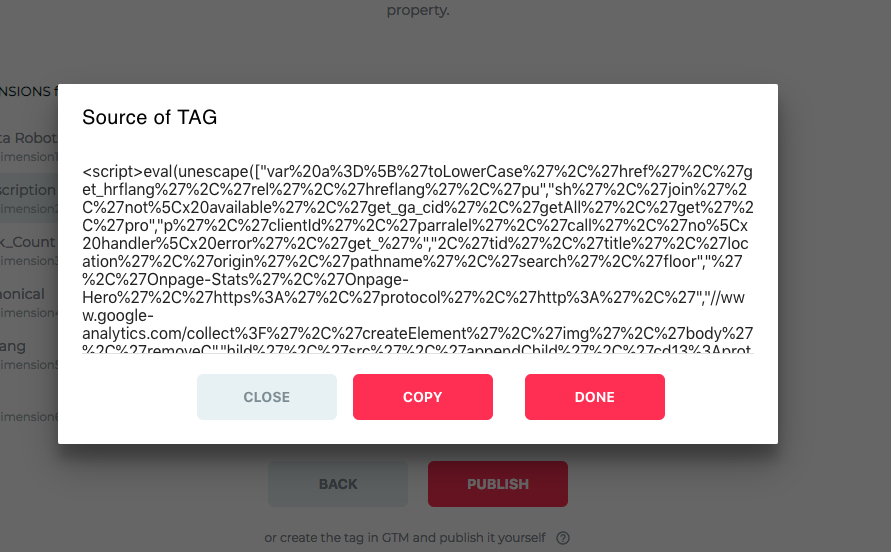
You can now click on copy to save the source code in your clipboard.
2. Adding a new tag in GTM
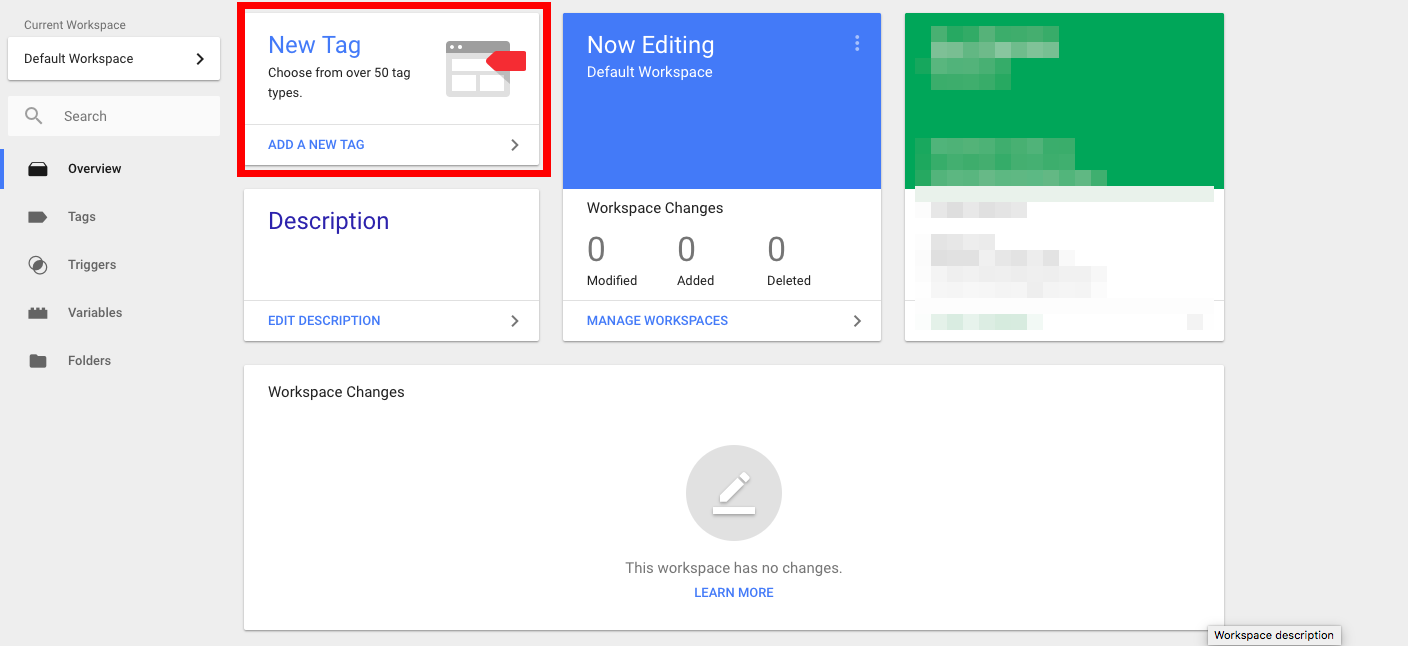
After you have copied the source code to your clipboard, you’ll need create a new tag ina and paste it inside your Google Tag Manager workspace. Go to https://tagmanager.google.com/#/home and select the right account and workspace.
After you did this, click on New Tag:
A pop up will appear. You have to name the tag, in this example we chose Onpage Hero Tag: 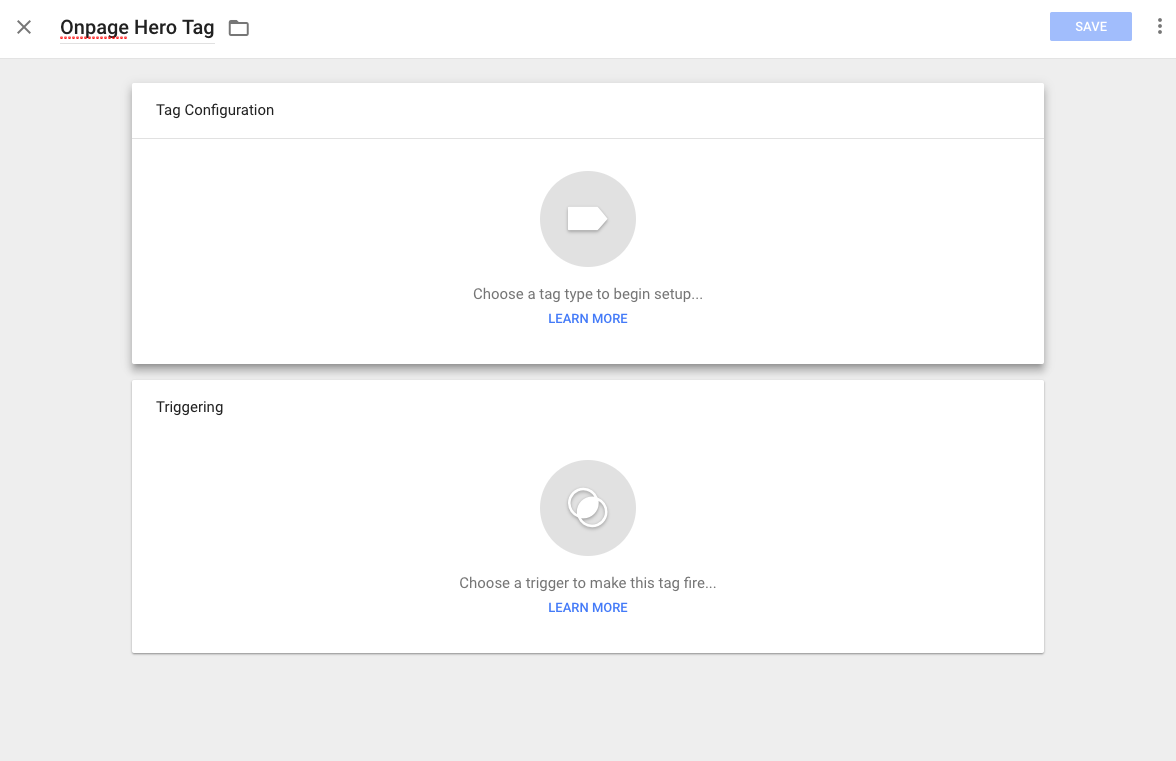
Pasting Onpage Hero’s source code
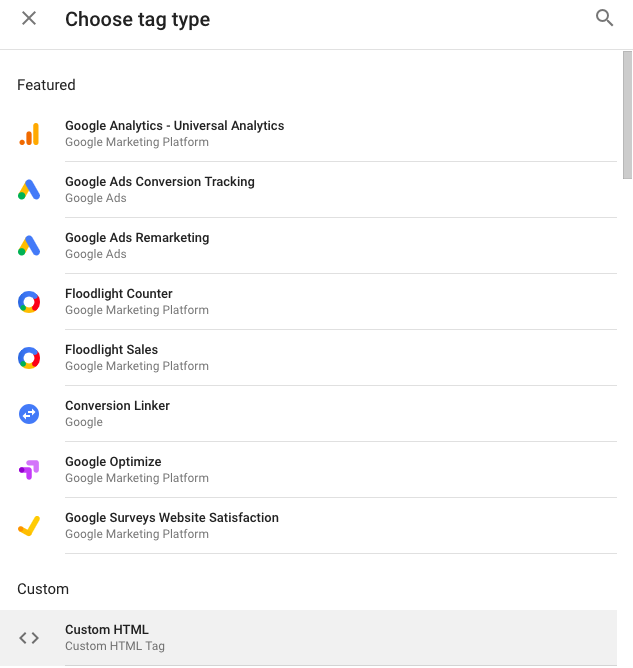
Now click on the the Tag Configuration field. A new pop up will appear, asking you to select a tag type. You choose the Custom HTML, the very bottom in this image:
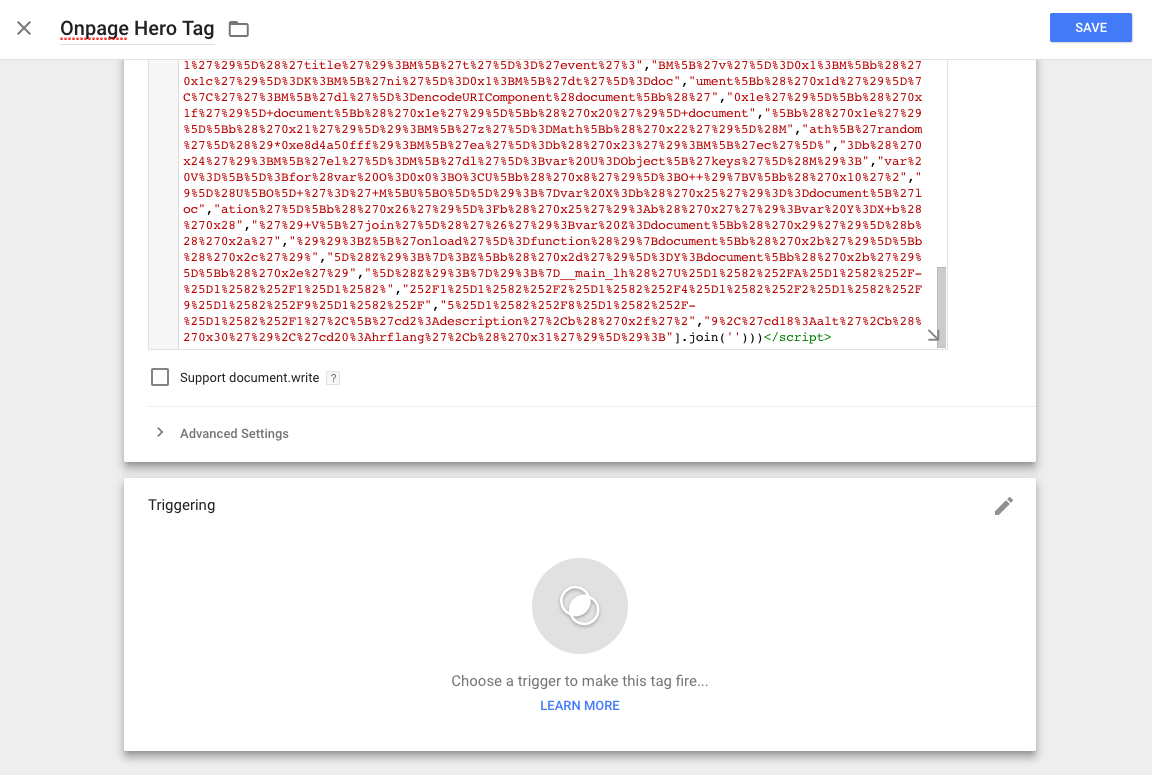
After you’ve clicked the Custom HTML button a new field will appear where you can paste the source code.
Please don’t change any of the settings, don’t activate document write, nor change any of the advanced settings. It will look like this:
Setting the trigger
After you have pasted the code, you have to click on the Triggering field. A pop up will appear. You want to create a new trigger, so you click the plus sign on the very right:

And even another pop up will appear, asking you to name the trigger. In this example we named it Onpage Hero Trigger.
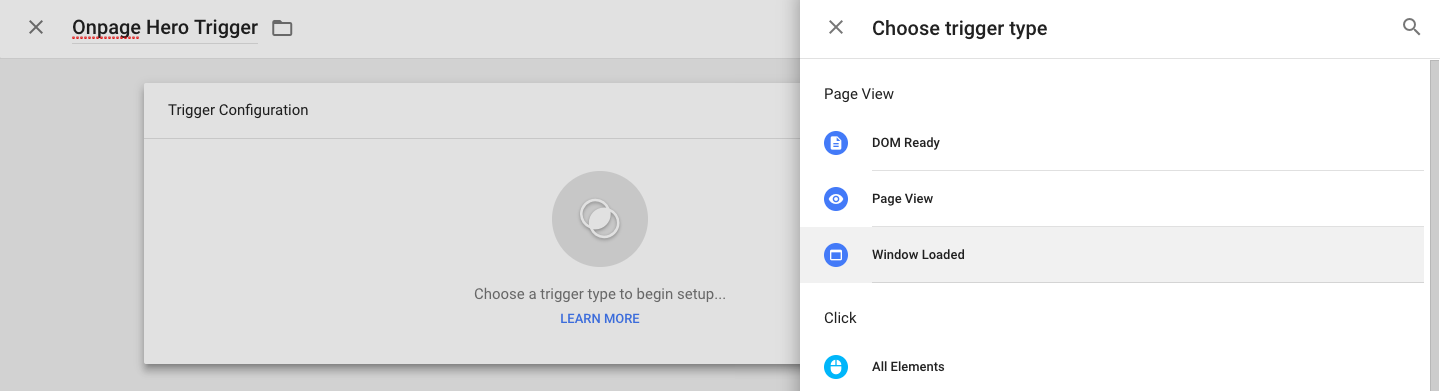
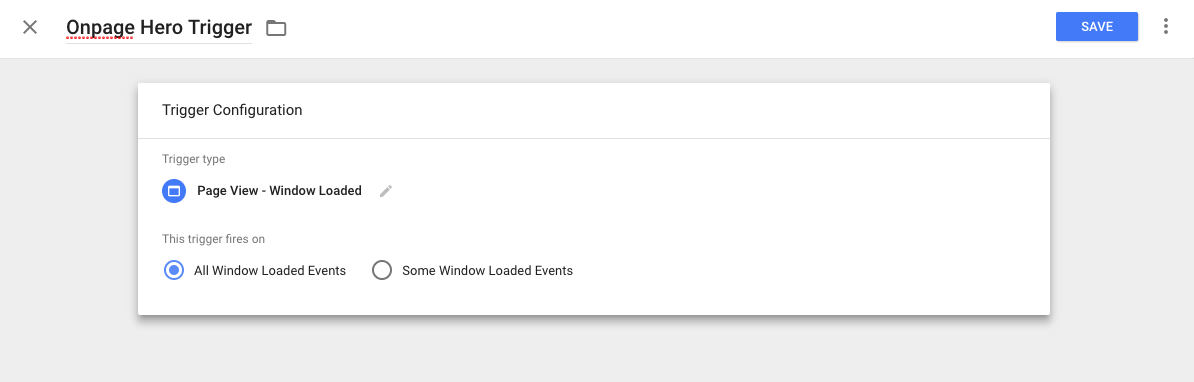
Now you click on the Trigger Configuration field and select Window Loaded as the Trigger event:
Now you click save:
Now you can save your tag.
3. Testing and publishing the changes
After you have saved the tag, you can now roll it out to a test or production environment by clicking the SUBMIT button on the very right.
We’ve had thousands of roll-outs and never any problems but we always recommend testing before rolling out to your main site anyways.